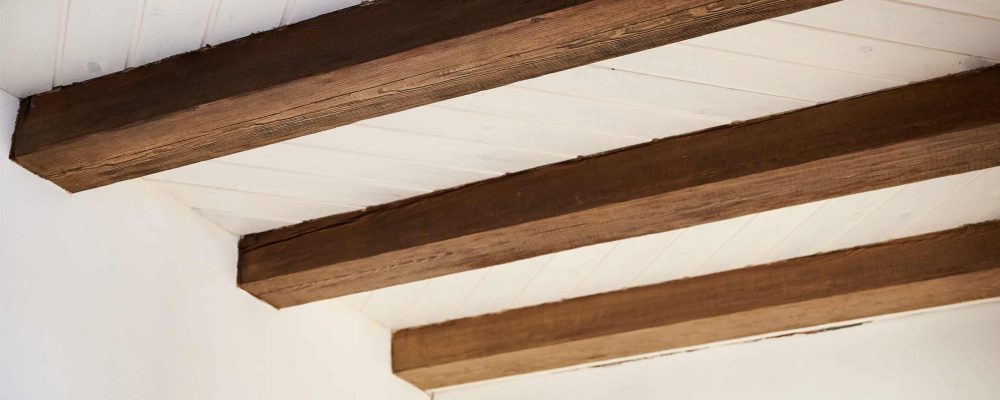
Upgrade your living space with more than just a fresh coat of paint. Exposed wood beams entered the home décor space years ago and instantly give a home a refined, rustic feel. This easy architectural feature adds additional texture and depth to any space and can be used to hide wires and exposed pipes.
Depending on your experience level, this DIY project can be an easy weekend task. However, if in doubt call the professionals.
Faux Ceiling Beams
An easy way to achieve this architectural feature is to build a box beam. This U-shaped beam is made of three thin boards, such an 1” pine, attached to a board mounted to the joists in your ceiling. This creates the look of an exposed beam without the weight.
If you have the right tools, these box beams can be created at home. For a quicker project, these come prefabbed at home improvement stores.
Planning & Space Preparation
Before running to the store for materials, measure the area where the wood beams will be installed to determine how many beams you will need, and how long they will need to be.
Tip: Be mindful of the direction that your joists run. You’ll have more flexibility on the spacing of the beams if you run them perpendicular to the joists.
In addition to the lumber for the beams, you will also need:
- Chalk line
- Stud finder
- Circular saw or miter saw
- Nail gun
- Power drill
- Construction screws
- Finish nails/brad nails
- Wood glue
- Ladder
- Sandpaper
- Paint or stain
- Clean cloth and/or paintbrush
- Ram Board
- PPE including safety glasses, gloves, face mask and hearing protection
Install Surface Protection
Although it’s not a particularly messy job, save yourself the headache of clean up by installing surface protection before you start. Ram Board can protect floors from dust, debris, and any paint or stain spills while you work.
Locate Studs and Secure Mount
Even though faux ceiling beams are meant to be lighter than solid wood beams, it’s still important to locate your ceiling joists to ensure proper mount. Never install hanging wood beams directly to drywall.
Tip: You’ll either need a second set of hands to help you during this step or you’ll need a support pole to hold the mounts in place while you attach them.
Use the chalk line to mark a straight line across your ceiling. After measuring and cutting your mount, align it along your chalk line and drill holes into the joist.
Predrill your holes using a slightly smaller drill bit than the screw you’ll be using. This prevents the wood from splitting when installing. Using construction screws, attach your mounts to the ceiling.
Build Box Beam and Stain
To build the decorative wood beams, cut 3 boards to the same length per beam. Lay one board flat and stand two boards along the edge to create a U shape.
Using a nail gun, attach the boards together, spacing the nails at regular intervals. To create a tighter bond, you can use a thin line of wood glue along the edge of the flat board before nailing. Make sure to wipe away any excess glue after the boards are nailed.
Tip: Boards can be wavy or warped so make sure to pick out the straightest boards at the store to avoid any gaps in your beam. If you do have gaps, clamps and wood glue come in handy.
Finish the wood beams by staining or painting them to match the aesthetic of your room. Start by sanding the wood to get rid of any markings or imperfections. Wipe away the dust with a clean rag or cheese cloth and use your preferred method to finish them.
How to Install Wood Beams
Once your beams are dry, position the finished wood beams over the mount you previously installed. Again, this portion will need another set of hands. Using the nail gun again, attach the box beam to the mount at regular intervals on both sides.
Repeat for each beam until complete.
And there you have it. Decorative wood beams that elevate your space and give your home a warm and rustic look.
Additional tips we learned along the way
- If you are unsure about any aspect of the installation process, especially for structural purposes, consult with a professional contractor to ensure safety and proper installation.
- If you have lower ceilings, you can use smaller board to create shallower faux beams.
- Make sure your light fixtures and ceiling fans have proper clearance before installing.
